by mwonfor | Aug 17, 2020 | Community, Homeowners, Safe and Healthy Home
Your home should be the place where your family is the safest and most comfortable. Regular maintenance is key to keeping your house in good condition. However, appearances aren’t enough. Follow the below five tips to keep your home healthy and safe for years to come.
1. Reduce the Risk of a Fire in Your Home
While no one can eliminate the threat of a fire, there are measures you can take to prevent one. Don’t overload any of your outlets. Make sure nothing is up against your furnace, baseboard heaters, and space heaters. Have fire extinguishers in the kitchen, basement, and garage. Install smoke detectors in several rooms throughout your home including all bedrooms, the attic, and the basement. Check your smoke detector batteries twice a year and replace the units every decade.
2. Prevent Mold to Keep the Home Healthy and Safe
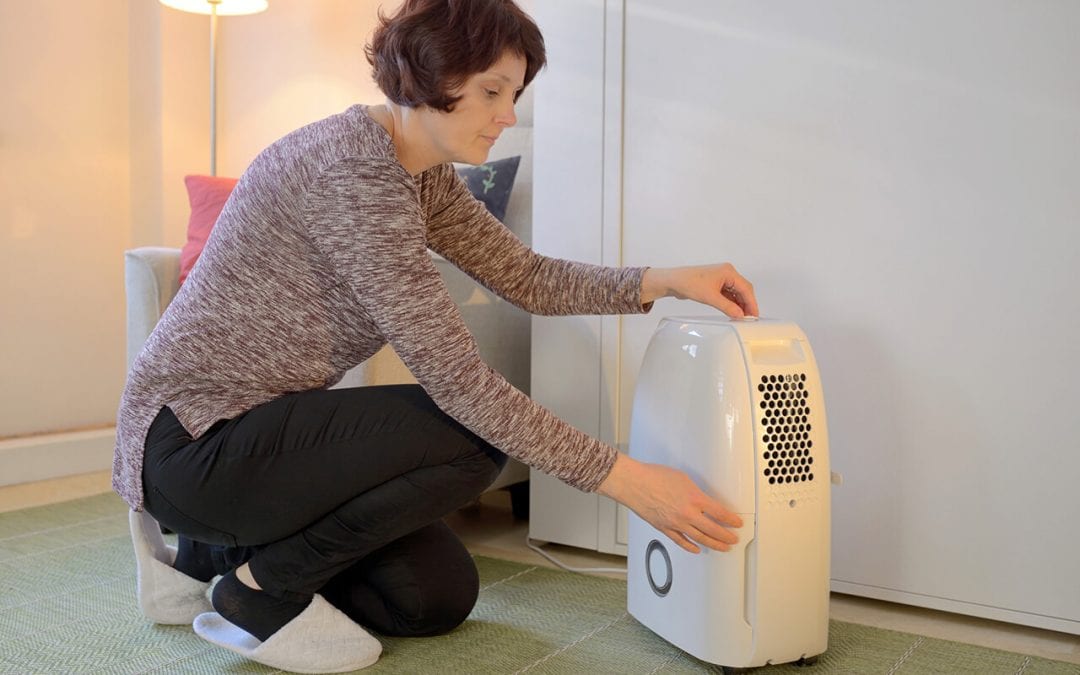
Every homeowner dreads finding mold in their home. Mold is a living organism that makes your home unhealthy. It can wreak havoc on your health if you inhale its spores. It thrives in damp places, so the bathroom and basement are the most common areas where mold can show up. To keep your home healthy and safe from mold, control the moisture levels in your home. A ventilation fan protects your bathroom from growing mold. A dehumidifier and fans can keep your basement dry.
3. Minimize Dust
A buildup of dust in the home is not healthy. Dust mites and other tiny organisms breed in the dust. They can cause skin rashes and breathing problems. Dust is especially problematic for anyone who is allergic to dust, has asthma, or has other respiratory disorders. You can combat dust by dusting regularly with a microfiber cloth, keeping the surfaces clean in your home, and purchasing an air filtration device.
4. Keep Your Drinking Water Pure
The quality of your water is essential to keep a home healthy and safe. Most municipal and well water contains contaminants of some form. You have two options when it comes to purified water. You can either buy bottled water or you can install a water filter. Bottled water promotes waste and is expensive. A water filter comes with an initial expense that will offer you the return of clean drinking and cooking water for years to come.
5. Test for Radon to Make Your Home Healthy and Safe
Radon is a radioactive gas that is often found in the basement. It can increase your risk of lung cancer. Testing is the only way to find out the levels. If you do have high radon levels, hire a mitigation professional to make your home healthy and safe.
When you are conscientious, you can keep your home healthy and safe throughout the years. Reduce hazards like mold, dust, radon, house fires, and polluted drinking water with the above tips.
American Home Inspection Services provides water testing, radon testing, and other home inspection services to Southeast Michigan. Contact us to schedule our services.
by mwonfor | Jul 16, 2020 | Community, Homeowners
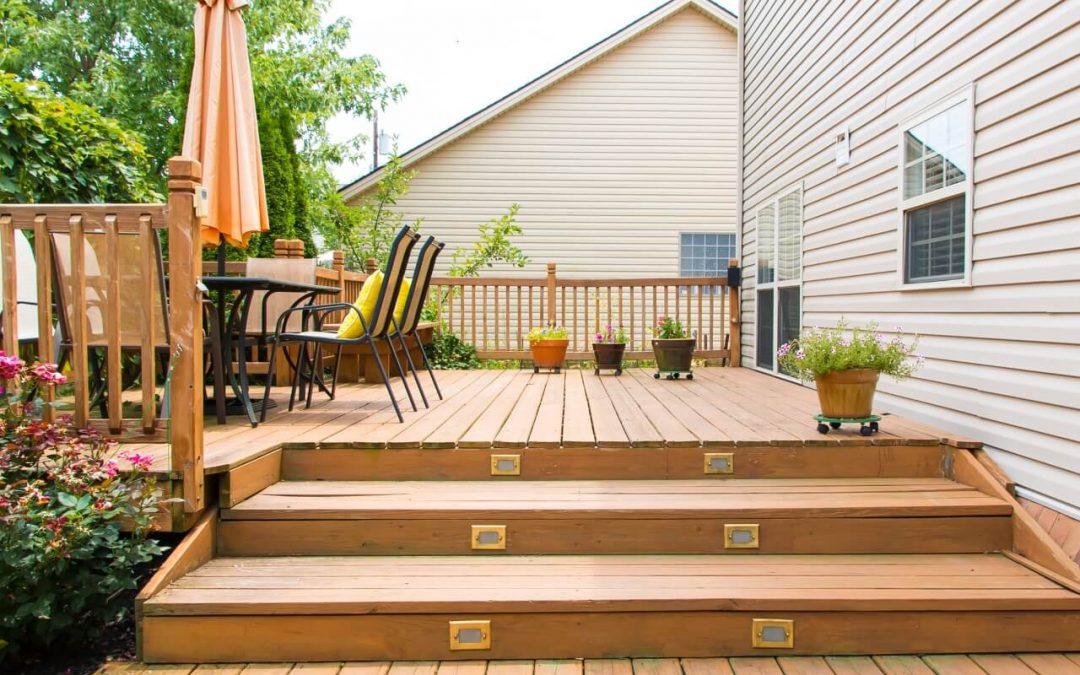
A deck is an outdoor living space that is often elevated off the ground, varying in height from a few inches to many feet or levels. Originally constructed of wood, modern decks might be made of any of these popular decking materials. Let’s look at the pros and cons of some of those materials.
Redwood Decking Materials
Redwood has been a traditional choice for decking material for many years. The wood is durable and attractive and the natural color is pleasant. Redwood is fire and insect-resistant.
Redwood can be more brittle than softwoods, so pre-drilled holes are usually necessary to prevent splitting. The biggest disadvantage is the cost. Compared with softwoods or composites, redwood can be up to twice the price per foot.
Cedar Decking
Another popular choice for natural wood decking is cedar. Cedar is strong and has a distinct scent that many people find appealing. Another advantage of cedar is that it is naturally resistant to rot, decay, and insects.
While not quite as brittle as redwood, cedar can be just as expensive. If not regularly sealed, the attractive cedar color will fade to gray.
Pressure-Treated Lumber
Pressure-treated wood is the most common material used in outdoor construction. This type of wood repels moisture and is resistant to mold and insects. It is inexpensive and easy to install.
Pressure-treated wood needs to be resealed every year or so to prolong its lifespan. If regular maintenance isn’t for you, choose another option.
Vinyl Decking Materials
Synthetic materials like vinyl have become a common choice in recent years. Low maintenance and ease of installation make this a popular material for HOAs and subdivisions looking for a uniform appearance. Color is infused into the material, eliminating the need to paint. With proper maintenance, you can expect it to last 20 to 30 years.
Vinyl is difficult to paint and can’t be stained, so changing colors is not an option. While some vinyl can mimic wood, it lacks the natural beauty of quality wooden decking.
Composites
Another synthetic material commonly used for decks is composite. Composite is made of wood particles mixed with plastic and pressed into shape. Composite decking is heavier than vinyl and has a longer lifespan than natural wood.
This type of decking is more difficult to install, can be pricey, and may contain chemicals that make it difficult to dispose of safely.
Aluminum
While not a common choice, aluminum decking does have its advantages. It dissipates heat more effectively than wood, so it cools quickly. It’s also lighter and stronger than wood. Although installation can be a more difficult job, aluminum decking is nearly maintenance-free.
Besides the installation, the main disadvantage is the cost. Aluminum decks can be pricey. This material is also noisy underfoot and becomes slippery when wet.
These are the most common types of materials used to build decks. One material may be better for your backyard deck. Examine the pros and cons of these materials and choose the one that is right for your home and your budget.
American Home Inspection Services provides home inspection services to Southeast Michigan. Contact us to schedule an appointment.
by mwonfor | Jun 17, 2020 | Community, Homeowners
Because closets are out of sight, they’re often forgotten about during housecleaning. A clean closet is a useful and convenient storage area. Here are a few tips to help you organize your closet.
Take Everything Out
To organize your closet, start by taking everything out of it. As you remove your belongings, separate clothes into categories: dress pants, workout attire, casual pants, formal clothing, dress shirts, casual shirts, etc. This way, you can easily go through each pile and see what you actually own. If you notice you have several white dress shirts, you might decide to donate a couple of them.
As you go through the clothes, separate them further into what you want to keep and what will be given away. If you don’t like how an item fits or if it hasn’t been worn in over a year, it should be donated.
Clean the Space Before Your Organize Your Closet
Before you begin to put everything back, clean the area first. Wipe all of the shelves, vacuum the carpet, and clean scuff marks and dirt off of the walls. If you’ve been needing to repaint the closet, now is a perfect time to do so.
Organize Your Closet
Organizing your closet can seem daunting, but with the right strategies, you can finish this project in a weekend. If more storage space is necessary, buy and install wall shelves that can help organize items like hats, purses, and other accessories. Add shelves above the clothing racks, or on any open wall. This helps you use every available space in the closet. Use every inch of the closet for storage.
If you have space, a double hanging rod helps hang more clothing in the same area. For storing shoes, add shelves or install a behind-the-door shoe rack made of mesh, plastic, or metal.
Designate a specific space for everything so clothes and shoes don’t get scattered around. Hang like items together and keep often-used pieces within easy reach. Use higher shelves to store out-of-season or special occasion clothing.
Hang or Fold
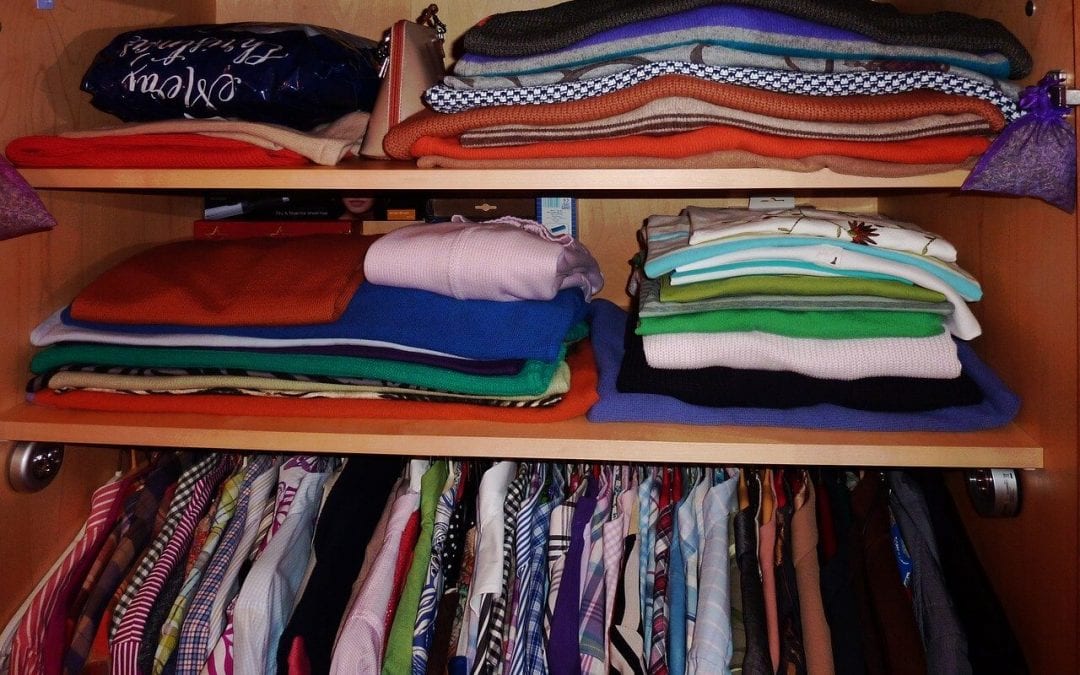
Sweaters will stretch out when hung on hangers. Fold sweaters and store them in drawers, on shelves, or in baskets. Materials that can stretch like Lycra and most knitwear should also be folded. Designate places in your closet for these items.
Delicate materials like silk, satin, lace, and starched shirts like cotton dress shirts are stored best on hangers. This will help these garments keep their shape and prevent wrinkles.
American Home Inspection Services offers home inspections to customers in Southeast Michigan. Contact us to request an appointment.
by mwonfor | May 18, 2020 | Community, Home Maintenance, Homeowners
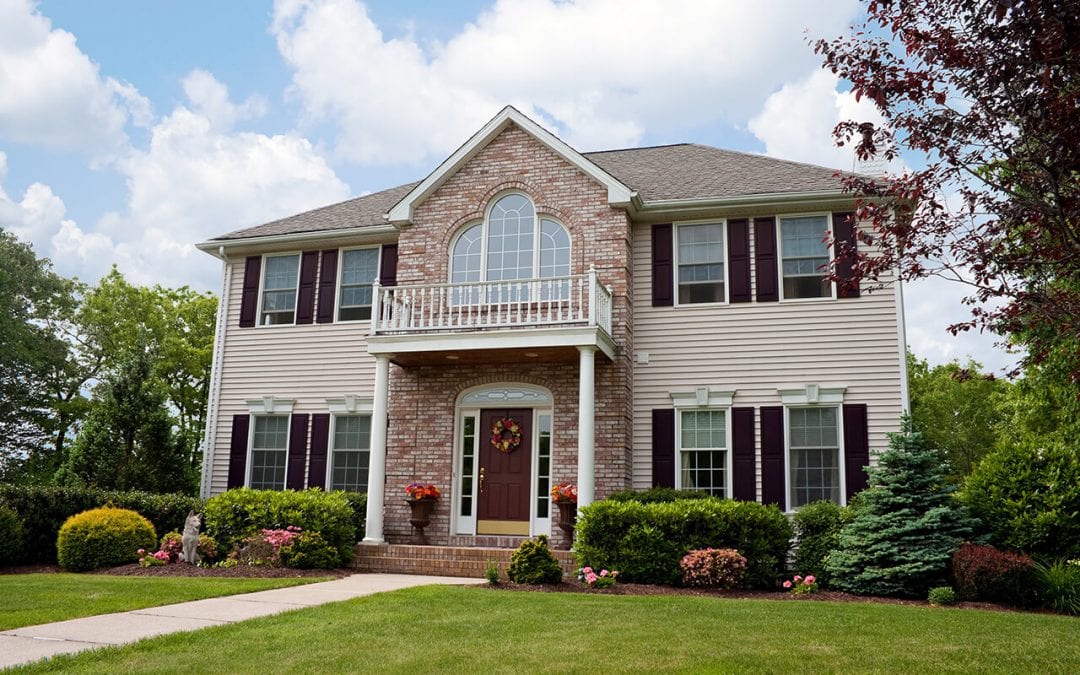
You’re likely to sell your home more quickly and for a higher price when the exterior impresses potential buyers. Here are 8 tips that will help you improve curb appeal.
Wash the House
It’s possible to add profit by simply cleaning the exterior of your home. Get rid of the dust, dirt, and grime on a vinyl, wood, stucco, metal, or brick exterior with a pressure washer. It’s best to hire a pressure washing company if you are inexperienced with using this machine so that you don’t damage your property.
Improve Curb Appeal by Fixing Your Roof
The rest of the home’s exterior may look great, but if the roof is failing, it will bring down the curb appeal of the house. This is especially true if all of your neighbors have newer roofs that are in good condition. Repair the roof, if needed. If your roof is technically sound but dirty, then get it professionally cleaned. Removing moss, algae, lichens, and dirt will make any roof look better.
Get Rid Of All Clutter
Move garbage and recycling bins to the backyard or the garage. Get rid of old, dirty, or broken lawn decor and furniture that is bringing down the curb appeal of the yard. Tidy up toys and bikes that may be laying around the yard, and stash them in a shed or garage.
Paint Your Home to Improve Curb Appeal
Sometimes washing your home isn’t enough to improve curb appeal. Painting your home with a fresh coat of paint makes the home look much newer. It’s best to use a neutral color that will appeal to most people when selling your home.
Spruce Up The Yard
Add fresh mulch to garden areas. Prune the shrubs and cut the grass to improve curb appeal. Take out old, overgrown bushes and replace them with newer, easy to care for plants. Edge along the driveway and garden beds. Get rid of all the weeds. Add solar garden lights to boost the curb appeal at night.
Fix the Mailbox
A new mailbox can be expensive. Save money by adding a fresh coat of paint to your existing mailbox. Add decorative house numbers to your house while you’re sprucing up the mailbox.
Install a New Fence
Add a decorative or picket fence around the front yard. Buyers will love the look and the extra security a fence provides. Repair any existing fencing issues like broken latches so the fence doesn’t detract from curb appeal.
Make All Needed Repairs
Take a good look at your property after repairing the roof, fixing up the lawn, and replacing the mailbox. Look for anything else that’s taking away from the overall presentation. Do you still see any peeling paint, loose front step bricks, or sagging gutters? Fix all of these problems. Here are other items to pay attention to:
- Cracked driveway or walkway cement
- Crooked shutters
- Cracked windows
Follow these tips to improve curb appeal and sell your home more easily.
American Home Inspection Services provides pre-listing home inspection services to Southeast Michigan. Contact us to schedule an appointment.

by mwonfor | Mar 17, 2020 | Community, Homeowners, Safe and Healthy Home
Our elderly family members are more prone to falls and accidents in the home, which pose serious threats to their health and mobility. Problems with muscle strength, balance, and even side-effects of the medications they take can make them more vulnerable to injury from accidents. Here are 10 ways to make a home safe for seniors.
1. Remove or Secure Throw Rugs to Make a Home Safe for Seniors
Unsecured throw rugs are among the top causes of falls in older people. In most areas, it’s best to eliminate these rugs altogether. But if their use is necessary, such as in the bathroom, secure the rugs with double-sided tape to help reduce the risk of falls.
2. Add Bathroom Safety Features
Grab bars in the bathtub and shower provide stability and help prevent falls. Bath mats with rubber backing also help reduce the chance of slipping. A raised toilet seat is useful for seniors who have difficulty getting to their feet. Install a grab bar beside the toilet to offer extra assistance.
3. Install Extra Lighting in Stairways and Hallways
Impaired vision is a common problem as we age. Illuminate stairs, hallways, and other frequently traveled areas with additional fixtures or lighting that turns on when it senses movement.
4. Place Electrical Cords Out of the Way
Cords from lamps, TVs, and electronic equipment should be carefully tucked away to remove them as a tripping hazard. Don’t run cords under rugs, as this can cause overheating and lead to a fire.
5. Use Orange Tape for Floor Hazards to Make Your Home Safe for Seniors
Changes in flooring in the home, such as from hardwood to carpeting, can cause a fall. Steps from one room to another are also hazardous for elderly family members. Install bright orange tape in these transition areas to make them more visible and to help keep the home safe for seniors.
6. Keep Pets and Toys Out of Pathways
If older family members have significant mobility problems, keep pets confined to areas where they will not be underfoot. Similarly, children’s toys can be a hazard for seniors. Encourage children to keep toys in designated play areas in the home.
7. Prevent Medication Mix-ups
Keep medications in their original containers with attached labels detailing dosage and frequency. If needed, ask your pharmacist to provide large-print labels to make reading them easier. Medication alarm apps are helpful reminders for seniors to take their prescribed meds on time.
8. Cooking Hazards
Seniors should use care when cooking. Don’t allow them to wear loose-fitting clothing that could catch fire. Store food prep items in easy-to-reach areas so older family members don’t have to struggle to reach higher cabinets.
For some elderly people, cooking should be confined to the microwave. Make sure to test your fire alarms monthly and replace the batteries twice every year.
9. Rearrange Furniture to Provide Clear Walking Paths
Move items that block walking paths in each room. Replace glass coffee tables or shelves with other furniture that is less dangerous. Glass is more difficult to see and may shatter if a fall occurs. Remove items that may not be clearly visible and present a tripping hazard.
10. Use a Medical Alert System to Make Your Home Safe for Seniors
Medical alert systems have technology that allows the senior to call for help with the touch of a button, should they find themselves alone and in need of help.
Small changes make a big difference in your senior family member’s safety. Carefully inspect each part of your home, looking for potential hazards for someone who has impaired sight or mobility. Correcting these issues will keep the home safe and help prevent accidents.
American Home Inspection Services offers home inspection services to Southeast Michigan. If you’re buying or selling a home, contact us to request an appointment.
by mwonfor | Feb 17, 2020 | Community, Homeowners, Seasonal
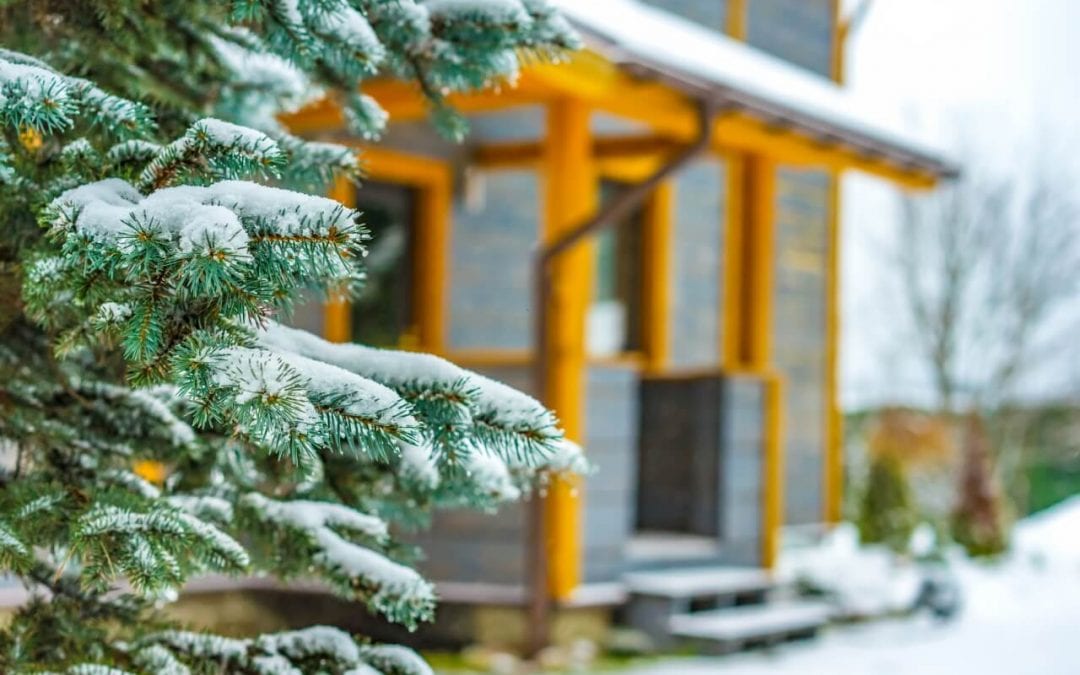
Moving is hard work any time of year but if you’re moving in the winter, you may also have to deal with snow and ice. Here are some helpful tips when you have to relocate in cold weather. While you have a lot of planning and organizing to do, you’ll also need to prepare for cold weather.
When Moving in the Winter, Plan for Snow Removal
- Shovel: Unless snow is still in the forecast, shovel and remove any snow the day before your planned move, preferably early in the day. Doing it early will give the sun a chance to melt away any residual snow on the walkway, giving you a clean surface.
- Remove ice: After you shovel the snow, spend a few minutes chipping away any ice on the walkway and driveways of the new house and the old one. Removing ice will help prevent falls while you’re loading and unloading the truck.
- Spread sand: Once you have the walkway and driveway cleared of ice and snow, liberally sprinkle a mixture of sand or ice-melt on the pathways. This will create a non-slip surface and the ice-melt will take care of any snow or ice you missed.
Protecting Flooring
- Drop cloths: Another tip for moving in winter is to cover your floors. Invest in as many fabric drop cloths as necessary to cover all of the hardwood and tiled floors in both houses. The sheer number of trips you and your helpers will make in and out can ruin the surface of hardwood and possibly scratch tile.
- Plastic tarps: While you’re getting the drop cloths, get plastic tarps to cover the carpeted rooms. Tracked-in snow and mud can ruin carpeting. Purchase enough extra tarps to cover the areas of carpet you will be walking on. For extra protection, put fabric drop cloths on top of the plastic ones. The cloth will keep you from slipping on the wet plastic.
- Entryway: Use a non-slip, rubber-backed rug in front of all entryways. These are available at restaurant supply stores and home improvement stores.
Adjust the Thermostat
When you’re moving, the doors of the home are open just as often as they are closed. Don’t stress the heating system. Turn your thermostat down to the lowest setting without turning your furnace off completely. Otherwise you will be wasting a lot of energy.
Designate a Doorman
An often overlooked tip is to have a designated helper who holds the door for the movers and makes sure it gets closed when no one is entering. This is a perfect job for an attentive child who wants to help out. This job provides movers with hands-free entry into the house and will keep your home warmer.
Dress for the Weather if You’re Moving in the Winter
- Wear gloves: The best gloves for moving in the winter are thinly lined leather, suede, or work gloves with palm and finger-tip grips. These will keep your hands warm and give you extra gripping power. Don’t wear thick gloves. They will prevent you from firmly gripping the items you are moving.
- Dress in layers: Don’t wear a heavy, bulky winter coat; it can impede your movement. Wear a long-sleeve shirt, a sweatshirt, and a light jacket. Put on a hat if it is very cold and windy. By dressing in layers, you can remove them if you get overheated.
- Footwear: Wear non-slip shoes or lightweight snow boots. Even though you shoveled the sidewalk, winter weather poses a risk for slipping or falling on ice or snow. Waterproof, non-slip boots will keep you safer during the process.
American Home Inspection Services provides home inspection services to customers in southeast Michigan. Contact us to schedule an appointment.


